|
This upcoming ear I will be taking the Honors Game Art Design course. This means this year is all about learning all the stuff about what makes games playable and fun, and then putting this information to work using 2d art. I'm really excited to learn about level design and the behind-the-scenes of how levels are designed and constructed. Level design is something I've been thinking about this summer as we will (hopefully) be creating our first game this upcoming year. The more I thought about it the more I realized I know nothing about level design, and have no idea where to start. So that's the No. 1 priority I want to learn this year. Next comes the software, Unity. Unity is such a well-known and widely recognized game engine, and learning how to make a 2d game in Unity is something I'm looking forward to. Learning how to make and import my own assets into Unity and make my first game with them is super exciting. In my opinion, this year's course is the most important in our Game Art Design journey. It's the start of putting together the pieces and learning about the industry I'm sure many of us want and intend on pursuing.
In summary :
0 Comments
Continuing the tutorial series from my previous post, I finalized the donut, and created and finished a cup of coffee, or tea, as I have yet to decide which it looks more similar to. The finished donut has sprinkles, which were scattered on top of the icing using a particle system, and we could control the color palette of the sprinkles by applying a color ramp node to the material. Texture painting was straight-forward, as you are simply painting onto your object, however, this tool can be very slow depending on your GPU/CPU (whichever Blender is relying on, hopefully your GPU) so take that as a warning. Giving the donut real texture through procedural displacement was the most difficult concept for me to grasp in the series so far, as the look of a bumpy texture was achieved through a complex web of nodes. Working further with Blender, nodes are going to be some of the most difficult tools for me to learn and understand, however they are an extremely important aspect of modelling in Blender, so I will continue to look more into how they work and explore the many different nodes the software has to offer. Once the bumpy texture was achieved, our donut was finished, and looked more realistic than ever. The modelling of the cup and saucer was quite simple, and I was introduced to the spin tool when making the handle for the cup which was again quite simple and straightforward. In order to give the cup and saucer the glass texture I simply applied a material to the cup, applying the same material to the saucer, and turned the transmission up to 1 and the roughness to 0. Next we move on to the coffee/tea. An important tip that seemed very strange was that the object that is the liquid should go slightly inside the glass because if its separate the light bouncing between the glass and liquid makes the liquid appear, well, wrong. To make the liquid appear to have the color and consistency of a dark coffee/tea we would work with volume absorption. Messing with color and density would eventually give us the desired effect, and higher density = darker liquid. To get the condensation you see on the glass below we worked with UV mapping on our cup. Using the plugin mentioned in the tutorial made the process of UV editing much easier however I did learn much more about the process of UV unwrapping and where to apply seams. The finished cup of coffee/tea is below and my final result from the tutorial will be up on my portfolio soon! 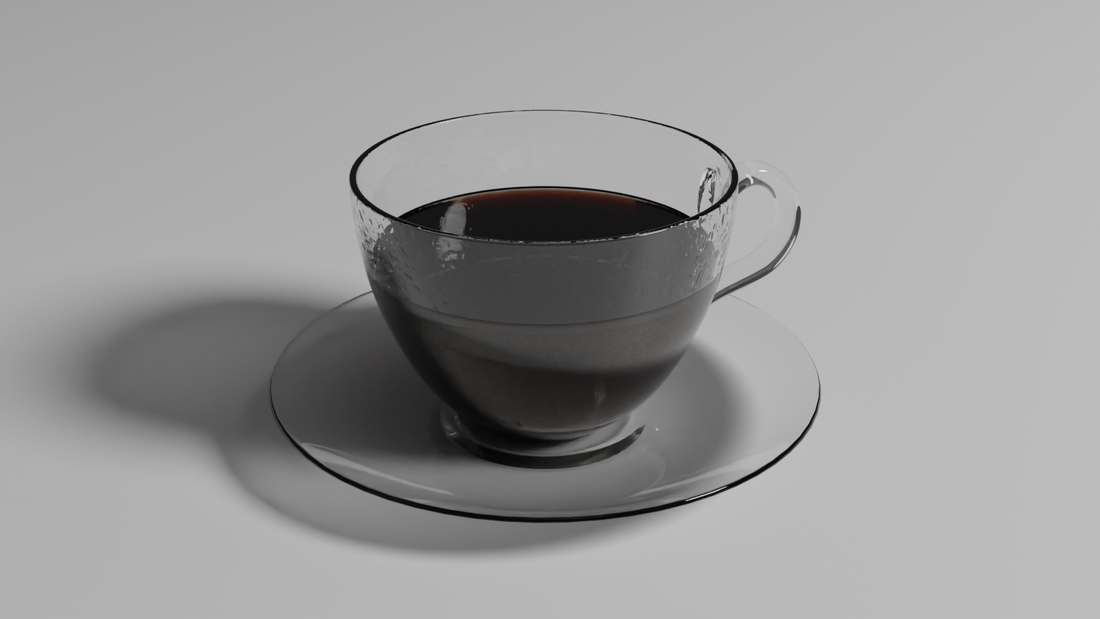 In Summary:
This summer I've been learning about the basics of Blender, and have begun familiarizing myself with the interface for 3D modeling. To make the donut in the image below I followed the first level in a tutorial series (linked in references). I learned many important hotkeys, how to manipulate and object's basic parameters, and how to use edit mode. The tutorials showed me how to use that knowledge along with basic sculpting to quickly make a model more realistic. I also learned how to setup a camera in Blender, and I learned a bit about the Cycles and Eevee renderers. Two small but useful tools I learned was the move camera with viewport tool which made setting up the camera feel much easier and natural, and the denoise node which, as the name says, was able to denoise an image after render; this made my image look far cleaner than it did in the original render. Something I noticed when rendering my image was how quickly it went in comparison to my experiences with 3DS Max. With light, shadows, subsurface scattering, and using the Cycles renderer, I was able to have the final image rendered n around two minutes, which impressed me. When learning to use Blender there is a steep learning curve, but the software offers plenty in regards to both 3D and 2D artists, at a free price. After making this simple model, I want to learn more about Blender and how to use it, and my next post will likely be the finished product after the tutorial series. 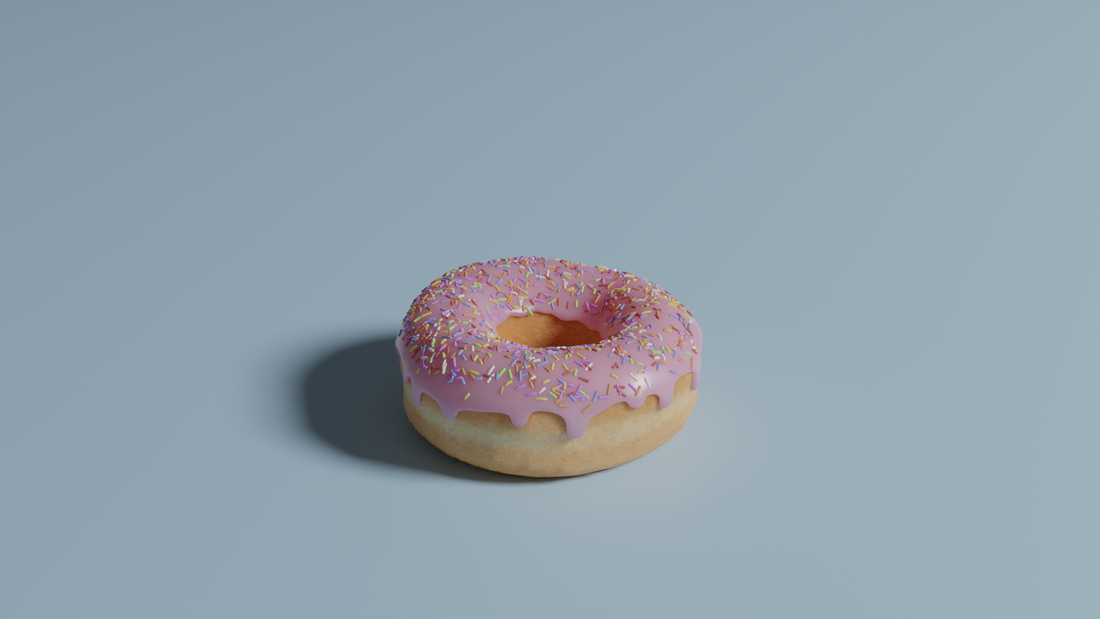 In Summary:
Next year I'll be taking the Digital Design and Animation II course. With that I'll be delving deeper into the realm of 3d modeling and animation. I'm really excited to learn more about this because previously my last unit of Digital Design and Animation I was based around beginning the basics of these skills, and I enjoyed it a lot. My favorite part was being able to animate them, so this year I am especially excited to gain more experience in 3d animation. At the very end of last year I completed my own 3d animation with models I made in the class, and it was an overall good experience. I want to build knowledge I gained and get back into 3d work after a summer of 2d. By the end of this summer I hope to have created at least two 2d animations, and though this won't necessarily add to my technical skill in 3ds Max this should help me with movement for animating. In Summary:
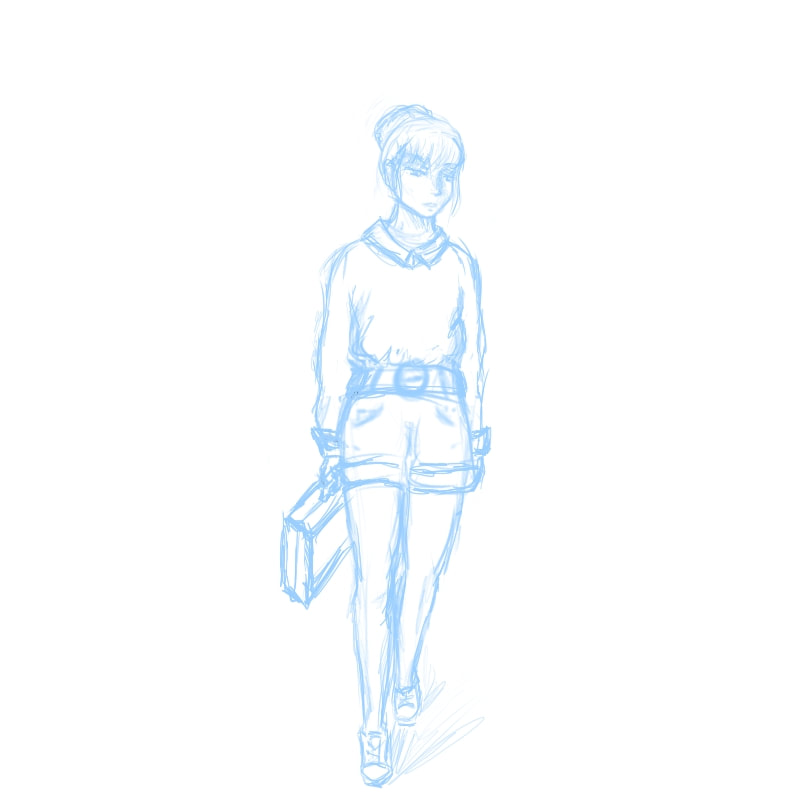
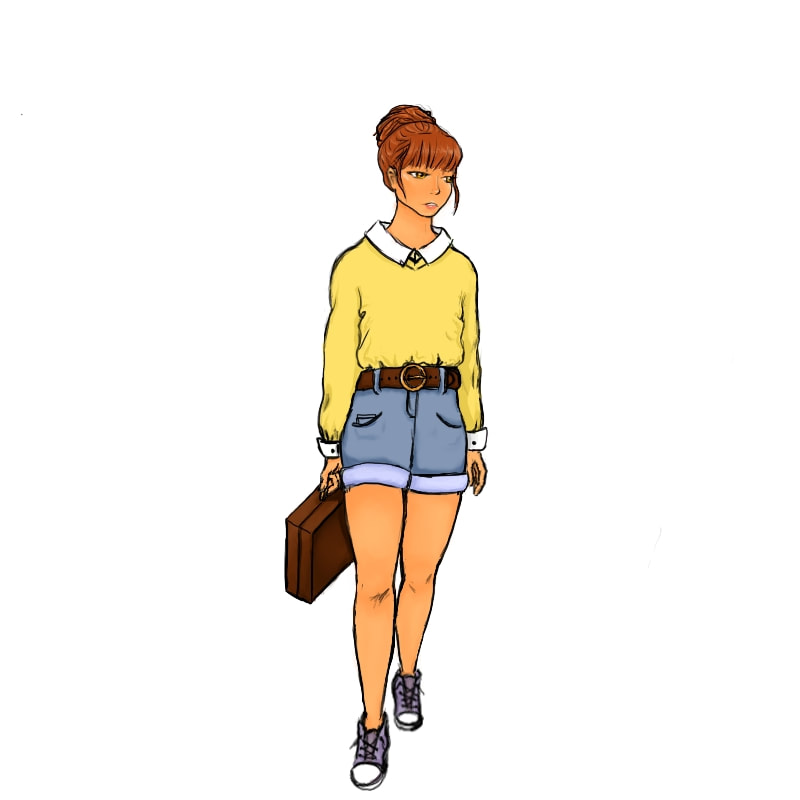
This summer I've been trying out different digital 2D art techniques and methods, just to see what felt most comfortable and what would work best for me. Most recently I've found that the way I wanted to continue to make my digital art would be by doing the following steps: Sketch, linework, color blocking, shade/highlights. This is what I want to do because rather than a technique I have done in the past where I would first do the image in greyscale with shading and all the details, and then add the color, this technique is better in the long-term for me to grow in an understanding of color. While it was easier to paint and get the details down in greyscale, because I'm usually sketching just in pencil so it's what I'm used to, I want to be able to one day utilize color very well, and the best way to do that for me is to stray away from this technique. My most recent drawing with my new method is a full body drawing since I wanted to keep myself from doing just another portrait image.
This time unlike my previous post I started sketching first on the tablet because it's something I need to make a habit, since it's important to me to be able to do both digital and pencil sketches. For this drawing I also didn't use many references because I was able to ask family members for advice if I thought something looked off, and wasn't sure why. The most difficult part of this though was the shoes because I don't have much experience at all drawing shoes and I'm still trying to get down how to recreate perspective when someone is walking.
In Summary:
So far this summer break, I've been working on improving my 2D artwork and understand of anatomy/angles. I wanted to see how I could create a character looking upwards so I found some reference images online and from that I was able to understand how a semi-realistic jaw would look like from a lower angle. Then I sketched out on paper an outline of what I wanted the image to look like, and I do this for most digital work because I feel most comfortable sketching on pencil and paper first. When it came to making the digital drawing I decided I wanted to improve my linework because I've never really taken the time to make a full clean linework drawing, and I wanted to practice doing so. it was actually a lot less difficult to get the lines I wanted. It can seem intimidating to get smooth lines, and while mine are by no means perfect, with the sketch in place it can almost be relaxing. With coloring and shading the lineart I wanted to keep things simple and focus more on color than shading. So for my colors, I used the fill tool, and for shading all I made sure to keep my opacity really low, unless I wanted certain highlights to pop.
In Summary:
|
About meI am a Senior at DSA and currently taking the Advanced Game Art and Design course. I enjoy playing video games and drawing in my free time. The opinions expressed within this blog are my own, and do not reflect that of Durham School of the Arts of Durham Public Schools Archives
May 2022
Categories
All
|


 RSS Feed
